
Blooming
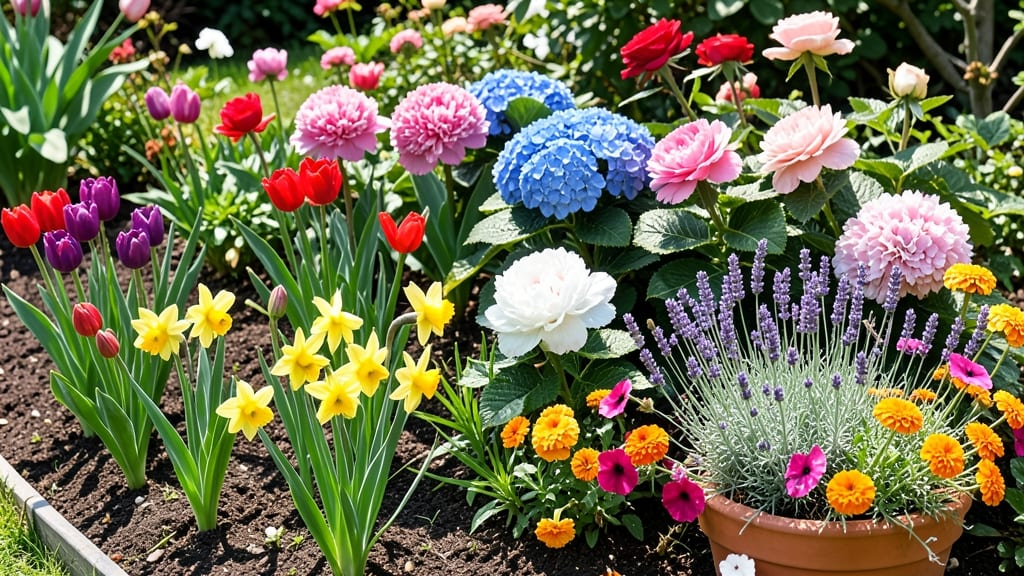
A flower bloom time chart is your secret weapon for a garden that never looks bare. 🌸 I’ve used mine for years to plan beds that burst into color from January daffodils to November asters, and it’s the difference between a garden that fades and one that thrives all year.
This isn’t just about memorizing dates—it’s about matching flowers to your climate’s unique rhythm. My chart includes everything from tender annuals that need summer heat to hardy perennials that brave winter. You’ll see which flowers overlap for seamless transitions and which ones need extra care to extend their season.
By the end, you’ll know exactly which flowers to plant for spring’s pastel parade, summer’s bold blooms, and fall’s fiery finale. Even winter gets its moment with evergreens and late-blooming hellebores.
The chart also tells you how to tweak timing for your zone—whether you’re in a hot desert or a cool mountain valley.
No more guessing when to plant or what to expect. Just a clear, month-by-month roadmap to a garden that’s always in its prime. Ready to transform your space into a year-round showstopper?
📚 In This Guide
- What you need
- Instructions
- Tips and common mistakes
- Wrapping up and next steps
What you need
- ● Printed or digital bloom time chart template – Use a pre-made chart (free printables available online) or create your own on graph paper.
- ● Colored pencils, markers, or highlighters – At least 4-6 colors to differentiate flower types and bloom seasons.
- ● Ruler (12-inch) – For precise measurements if designing a custom chart.
- ● Printer & paper (if printing) – Standard 8.5" x 11" or A4 paper works best.
- ● Local gardening guide or plant database – For verifying bloom times (e.g., Missouri Botanical Garden’s Plant Finder or USDA Plant Hardiness Zone Map).
- ● Sticky notes or tabs – For marking seasonal reminders or adjustments.
- ● Laminator & laminating sheets – To protect your chart from wear and tear.
- ● Digital tools (Canva, Excel, or Google Sheets) – For a customizable, editable chart.
- ● Plant labels or a garden journal – To track real-time blooms alongside your chart.
How to plan your garden’s year-round bloom schedule
Here’s how I organize my garden so every season bursts with color—no gaps, no guesswork.
🌱 Step 1: Map Your Climate’s Frost Dates
Start by marking your last spring frost and first fall frost on a calendar. These dates define your growing windows. I check my local cooperative extension service for precise dates—yours might be 2-4 weeks earlier or later than your neighbor’s. Write them down in bold so you don’t forget.
Next, divide your year into four seasons, but adjust for your region. For example, if you’re in Zone 7, your spring might start in early March, while in Zone 5, you’d wait until mid-April. This ensures you’re not planting tender annuals too soon or too late. I always double-check with my local nursery—they’ve seen what actually thrives in your area.
☀️ Step 2: Assign Flowers to Each Season
Now, group flowers by their natural bloom seasons. I like to use a simple color-coded system: blue markers for spring, red for summer, yellow for fall, and green for winter interest. Start with spring-bloomers like tulips, daffodils, and bleeding heart—these need 6-8 weeks of cool soil before last frost.
For summer, focus on heat-lovers like zinnias, coneflowers, and black-eyed Susans. These need full sun and well-drained soil to thrive. Fall brings chrysanthemums, asters, and goldenrod, while winter offers structure with evergreens, hellebores, and pansies. I always overlap seasons slightly—planting some spring bloomers in late summer for early color.
⏰ Step 3: Schedule Planting and Deadheading
Create a timeline for planting and maintenance. For example, I plant spring bulbs in October-November so they establish roots before winter. Then, in early spring, I add cool-season annuals like pansies and sweet alyssum. Deadhead spent blooms immediately to encourage reblooming—this is critical for annuals like petunias and geraniums.
For perennials, note when they finish blooming. For instance, peonies bloom in late spring, so I cut them back in early summer to avoid mildew. In fall, I divide overcrowded perennials like daylilies and hostas to keep them healthy. This keeps your garden looking fresh all season long.
🌿 Step 4: Layer for Continuous Color
Think of your garden in layers: tall back plants, mid-height bloomers, and low ground covers. I plant tall snapdragons or delphiniums at the back, mid-height roses or lavender in the middle, and low-growing ajuga or creeping thyme in front. This creates depth and ensures something’s always blooming.
Add a few evergreens or winter-interest plants like ornamental grasses or witch hazel to fill gaps when other plants rest. I also include a few late-season bloomers like asters or sedum to bridge the gap between summer and fall. This way, your garden never looks bare—just waiting for the next season.
✂️ Step 5: Adjust Based on Real-Time Observations
Finally, keep a garden journal. Note when flowers actually bloom in your space—this might differ from the chart. For example, my roses bloom 2 weeks later than the catalog says. Adjust next year’s planting schedule based on what you observe. I also mark when pests or diseases appear so I can plan preventive measures.
Every year, I tweak my plan based on what worked and what didn’t. Maybe a certain annual didn’t thrive, or a perennial spread too aggressively. Use this information to refine your bloom time chart for the next season. The goal is a garden that feels effortless—like it’s always in the right place at the right time.
Tips & tricks for perfect year-round garden blooms
Here's how to make your seasonal garden planning even smoother—because small adjustments make all the difference.
Climate-Specific Adjustments: The frost dates in Step 1 are your foundation, but don't rely solely on zone averages. I always call my local extension office for precise last-frost dates—some microclimates can vary by weeks! For example, valley areas warm up faster than hilltops. Mark these dates on your calendar in bold so they're impossible to miss during planting season.
Seasonal Overlap Strategy: The key to continuous color in Step 2 is that slight overlap I mentioned—plant some spring bloomers like tulips in late summer (around August) for early spring color. This creates a seamless transition between seasons. I also add a few late-summer bloomers like sedum in June to bridge the gap before fall chrysanthemums take over.
Deadheading Discipline: In Step 3, when you're deadheading those spent blooms immediately, here's a pro trick: Use sharp pruners for perennials and clean scissors for annuals. This prevents disease transmission between plants. For annuals like petunias, I deadhead every 2-3 days during peak bloom—they'll reward you with nonstop flowers all season.
Layering Visual Guide: When creating your layers in Step 4, sketch a simple garden diagram first. Draw your tallest plants at the back, medium height in the middle, and low growers at front. This visual helps you see potential gaps before you plant. I always include at least one evergreen in my winter layer—like boxwood or holly—to provide structure when everything else goes dormant.
Pro Tips for Flower Bloom Time Chart
- Here's how to make your seasonal garden planning even smoother—because small adjustments make all the difference.
- Climate-Specific Adjustments: The frost dates in Step 1 are your foundation, but don't rely solely on zone averages. ...
- Seasonal Overlap Strategy: The key to continuous color in Step 2 is that slight overlap I mentioned—plant some spring...
Frequently asked questions
Got questions about planning your garden’s bloom schedule? You’re not alone! Here are some of the most common questions—and answers—to help you navigate your flower bloom time chart like a pro.
When is the best time to plant flowers for continuous blooms?
For year-round color, stagger plantings every 4–6 weeks starting in early spring. Cool-season bloomers (like pansies or snapdragons) thrive in early spring or fall, while heat-loving flowers (e.g., marigolds or zinnias) do best after the last frost. Check your local USDA Hardiness Zone for precise timing!
Why aren’t my flowers blooming according to the chart?
Several factors can delay blooms: insufficient sunlight (most flowers need 6+ hours/day), over-fertilizing with nitrogen (promotes leaves, not flowers), or stress from drought or pests. Deadhead spent blooms regularly and ensure proper watering (1–1.5 inches/week) to encourage reblooming.
Can I adjust the bloom time chart for my climate?
Use your last frost date (find it via the Old Farmer’s Almanac) as your guide. Shift plantings earlier in warmer zones (e.g., Zone 9–10) or later in colder ones (Zone 3–5). Drought-prone areas may need drought-tolerant picks like lavender or succulents.
What are the easiest flowers for beginners to grow on schedule?
Start with low-maintenance bloomers like:
- Marigolds (spring–fall, drought-resistant)
- Zinnias (summer–frost, vibrant colors)
- Pansies (spring/fall, cold-hardy)
- Sunflowers (summer, fast-growing)
How do I extend the bloom season for cut flowers?
To keep cut flowers fresh longer:
- Harvest in the cool morning hours (stems last 2–3x longer).
- Trim stems at an angle and place in lukewarm water with a flower preservative (or a pinch of sugar + bleach).
- Store blooms in the fridge overnight before arranging.
Wrapping up and next steps
Understanding your garden’s flower bloom time chart transforms planning into a seamless, rewarding experience—whether you’re a seasoned gardener or just starting out! 🌸 With this month-by-month guide, you can anticipate vibrant blooms, extend your garden’s beauty, and create a lush, ever-changing landscape.
Now that you’re armed with timelines, tips, and answers, it’s time to roll up your sleeves and bring your vision to life.
Your next step? Sketch a simple layout or start planting based on your climate and favorite flowers. Need inspiration? Jot down your dream garden’s colors and textures, then match them to the blooms that thrive in your area. Happy gardening—your future garden awaits! 🌿