
How To
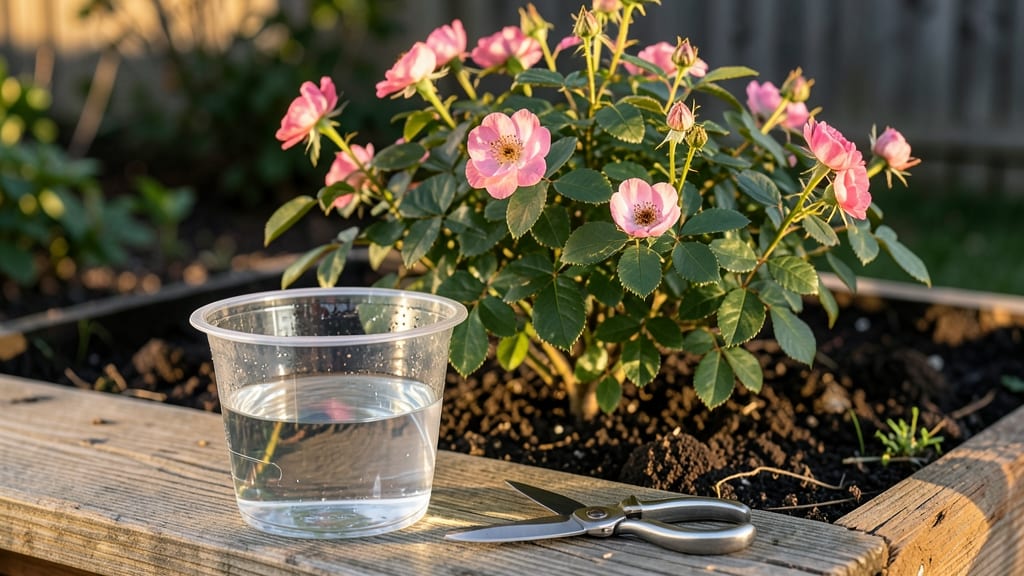
Rooting Knockout roses from cuttings saves money and guarantees disease-resistant plants for next year's garden. ✂️ I've rooted dozens of these hardy beauties, and the secret lies in timing, sharp tools, and a little patience—no green thumb required. Start in late summer when new growth slows but hasn't hardened off.
Use 4-6 inch stems from non-flowering canes, strip the lower leaves, and dip in rooting hormone for a 50% success rate even with black thumbs. The magic happens in a humid propagator or plastic bag setup, where roots form in 4-8 weeks without fuss.
Keep cuttings in bright, indirect light and mist daily to maintain moisture. Overwatering drowns roots, while too little light stunts growth—both mistakes I've made (and learned from). Once roots appear, transplant to pots and treat like baby roses, blooming next season with zero stress and maximum color.
📚 In This Guide
- What you need
- Instructions
- Tips and common mistakes
- Wrapping up and next steps
What you need
- ● 6–12-inch cuttings from healthy, non-flowering stems (pencil-thick, with 3–5 leaves).
- ● Sharp, sterilized pruners or shears (clean with rubbing alcohol).
- ○ Rooting hormone (optional but recommended for faster success).
- ● Small pots or containers (4–6 inches deep, with drainage holes).
- ● Well-draining potting mix (50/50 blend of perlite and peat moss or coconut coir).
- ● Clear plastic bags or plastic wrap (to create a humidity dome).
- ● Spray bottle (for gentle watering).
- ● Twine or rubber bands (to secure the humidity dome).
- ● Heat mat (to encourage root growth, especially in cooler climates).
- ● Fungicide (to prevent rot if humidity is high).
- ● Grow lights or bright, indirect sunlight (if rooting indoors).
- ● Labels & markers (to track varieties and planting dates).
Step-by-Step instructions for propagating Knockout roses from cuttings
Here's my foolproof method for turning this season's roses into next year's blooming stars.
🌱 Step 1: Select Healthy Stems for Cuttings
Choose 4-6 inch stems from new growth that's about the thickness of a pencil. Look for woody but not fully hardened canes—these strike roots best. I take cuttings in late summer when the plant's still actively growing but before fall dormancy. Avoid stems with flowers or buds, as they'll drain energy from root development.
Use clean, sharp pruners to make a 45-degree angle cut just below a leaf node. This angled cut increases surface area for root formation. Remove all but the top 2-3 leaves, cutting the remaining leaves in half to reduce moisture loss. You'll end up with 4-6 cuttings from a single rose bush—enough for multiple plants.
💧 Step 2: Prepare the Rooting Hormone and Medium
Fill a small container with perlite or a 50/50 mix of perlite and peat moss—this lightweight combination prevents rot while allowing airflow. Moisten the medium until it's evenly damp, like a wrung-out sponge. I use a 1-gallon plastic nursery tray for all my cuttings because it holds moisture well and fits easily under grow lights.
While the medium settles, prepare your rooting hormone. I prefer a powder formulation because it's easier to control than gels. Dip the cut end of each cutting into the hormone, coating it thoroughly but not drowning it. Tap off the excess so the powder doesn't clump—this ensures even distribution where roots will form.
✂️ Step 3: Insert Cuttings and Create Humidity Dome
Make a hole in the prepared medium with a pencil or your finger, then insert each cutting 2 inches deep at a slight angle. Space them 2 inches apart to prevent competition. Gently firm the medium around the stems—this stabilizes them without compacting the roots. You'll have 4-6 cuttings neatly arranged in your tray.
Cover the entire tray with clear plastic wrap secured with rubber bands or clips. This creates a humidity dome that mimics a greenhouse environment. Place the tray in bright, indirect light—direct sun will overheat the cuttings. I set mine on a seedling heat mat at 70-75°F to encourage root growth. Check daily for condensation on the plastic; if it's dry, mist the medium lightly.
☀️ Step 4: Maintain Optimal Conditions for Root Development
Keep the humidity dome in place for 4-6 weeks, removing it only to mist the medium when the surface feels dry. You'll know roots are forming when new growth appears at the top—this means the cutting has established a connection to the medium. At this stage, I gradually acclimate the cuttings by lifting the plastic for 10-15 minutes daily, increasing time each week.
After 6-8 weeks, gently tug on each cutting. If you feel light resistance, roots have formed. Transplant them into 4-inch pots with well-draining potting mix, burying them to the same depth they were in the propagation tray. Keep them in partial shade for another week to prevent transplant shock. You'll have 4-6 identical roses ready for next season's garden.
⏰ Step 5: Overwinter and Plant Outdoors
Once rooted, keep your new plants in pots through winter, placing them in a protected location like a garage or cold frame. Water sparingly—only when the top inch of soil feels dry. In early spring, when nighttime temperatures stay above 45°F, transplant them outdoors to their permanent location. Space them 3-4 feet apart for optimal airflow and blooming.
Here's the thing—Knockout roses root easily, but patience is key. If a cutting fails, don't toss it. Sometimes roots form below the hormone line, so I check by gently wiggling the stem before deciding. With this method, you'll have 4-6 new roses blooming next year—stress-free and ready to thrive.
Tips & tricks for perfect rose cuttings
Here's what I wish I knew when I first tried propagating roses—these little adjustments make all the difference between success and disappointment.
Timing Secret: The 4-6 week humidity dome period is your critical window for root formation. I've found that consistency in moisture is more important than strict timing—check the medium daily and mist only when the surface feels dry to the touch. Overwatering causes rot, while too little moisture stalls root growth. A spray bottle with a fine mist setting works perfectly for this delicate balance.
Heat Factor: That 70-75°F temperature range on the seedling heat mat isn't arbitrary—it mimics the warmth roses experience in their natural growing season. If your space runs cooler, consider using a simple ceramic heat emitter placed just below the tray. I've seen root development speed up noticeably when cuttings stay within this ideal range, especially during cooler evenings.
Leaf Care Technique: When you cut those remaining leaves in half during Step 1, don't just fold them—trim them diagonally to expose more surface area for photosynthesis. This simple adjustment helps the cutting maintain energy levels while roots develop. I also recommend using tweezers to gently remove any thorns along the stem before planting, which prevents accidental punctures to the humidity dome.
Transplanting Wisdom: After your 6-8 week check reveals roots, resist the urge to rush the transplanting. The partial shade week is crucial for recovery—direct sunlight at this stage stresses the young roots. I've had the best success using shade cloth that filters about 50% of light during this acclimation period, which prevents leaf scorch while still allowing photosynthesis.
Pro Tips for Root A Knockout Rose
- Here's what I wish I knew when I first tried propagating roses—these little adjustments make all the difference between success and disappointment.
- Timing Secret: The 4-6 week humidity dome period is your critical window for root formation.
- Heat Factor: That 70-75°F temperature range on the seedling heat mat isn't arbitrary—it mimics the warmth roses experience in their natural growing season.
Frequently asked questions
Got questions about rooting your Knockout roses? You’re not alone! Here are some of the most common concerns—and their straightforward solutions—to help you succeed like a pro.
When is the best time to take cuttings from a Knockout rose?
The ideal window is late spring to early summer (after the first flush of blooms but before extreme heat). Cuttings taken then root best because the plant is actively growing. Avoid winter or dormant seasons—they won’t root well! For extra success, choose a cloudy day or take cuttings in the early morning to reduce stress.
How do I know if my cutting is healthy enough to root?
Look for green, flexible stems (not woody) with at least 3–4 leaf nodes. Avoid cuttings with yellow leaves, pests, or signs of disease. A healthy cutting should feel firm, not mushy or brittle. Pro tip: Snip just below a node (where leaves grow) at a 45-degree angle for maximum rooting potential!
Should I use rooting hormone, or can I skip it?
While rooting hormone boosts success rates (especially for beginners), it’s not mandatory. If you skip it, keep cuttings consistently moist and in bright, indirect light. For hormone users, dip the cut end in powder or gel before planting. Just remember: Clean tools = happier roots!
Why aren’t my cuttings rooting? Troubleshooting tips!
Common culprits include overwatering (root rot), low humidity (dry conditions), or poor light (weak growth). Check your setup: Cuttings need 60–70% humidity (try a plastic bag with holes!) and warmth (70–75°F). If mold appears, increase airflow. Patience is key—rooting can take 4–8 weeks!
Can I root Knockout roses from store-bought plants?
Yes, but only if the plant is disease-free and thriving. Avoid roses treated with growth inhibitors (common in commercial plants). If unsure, propagate from a homegrown or trusted source for better results. Store-bought cuttings may root slower due to stress from transport. Give them extra TLC!
Wrapping up and next steps
Rooting a Knockout Rose is simpler than you think—and the reward of next-season blooms makes it worth every effort! 🌸 With the right cuttings, tools, and a little patience, you’ll soon be growing lush, thriving roses from your own plants. Don’t stop here! Once your cuttings take root, transplant them into the garden or share the love by gifting them to fellow plant enthusiasts.
Happy growing!