
Pruning
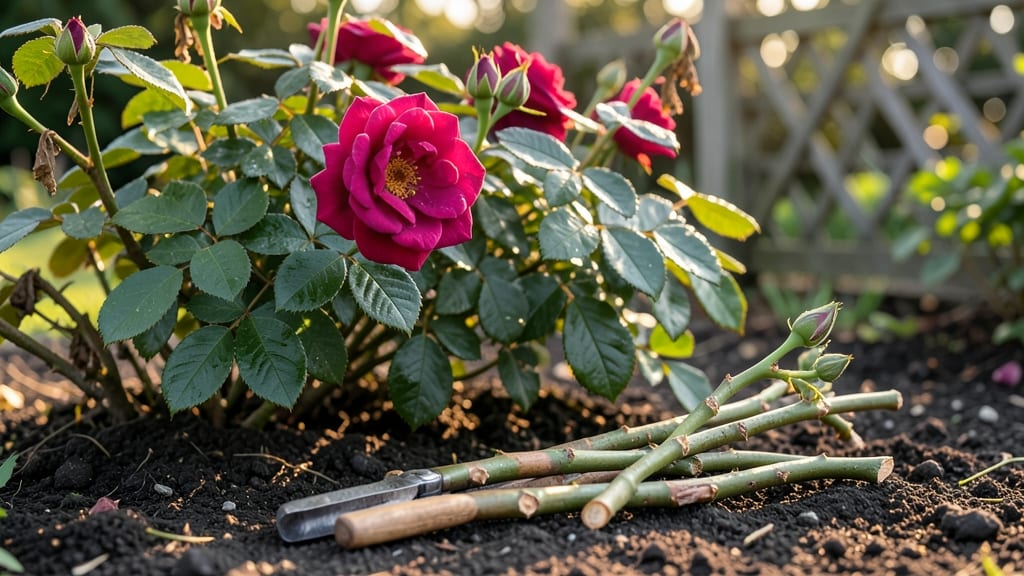
A pruning roses diagram can turn your chaotic cuts into confident snips—here’s how to shape your bushes for lush, repeat blooms without the guesswork. The right cuts encourage stronger growth, more flowers, and fewer pests, while wrong cuts invite disease and weak stems.
You'll need just three tools: sharp bypass pruners, loppers for thicker branches, and rubbing alcohol to sterilize cuts. Timing matters too—prune in late winter or early spring when the plant is still dormant but starting to wake up.
The goal? Shape the bush to let light and air reach the center, where most problems hide.
Start by removing dead, diseased, or crossing branches first—they're the easiest to spot. Then cut back last year's growth to an outward-facing bud, about ¼ inch above it.
This simple technique sends energy to new growth instead of old wood. By summer, you'll see thick, vibrant canes ready for another round of blooms.
For beginners, the biggest mistake is cutting too much or too little. Aim for one-third of the plant's height—never more—and always make clean cuts at a 45-degree angle.
The diagram will show you exactly where to cut, but remember: roses reward patience with stronger stems, bigger blooms, and fewer headaches next season.
📚 In This Guide
- What you need
- Instructions
- Tips and common mistakes
- Wrapping up and next steps
What you need
- ● Bypass pruners: Sharp, high-quality pruners (e.g., Felco or Corona) for clean cuts on smaller stems.
- ● Loppers: For thicker branches (1–2 inches in diameter). Look for long handles (20–24 inches) for leverage.
- ● Pruning saw: A curved-tooth saw for branches over 2 inches thick (avoid jagged cuts!).
- ● Gloves: Heavy-duty, cut-resistant gloves (leather or reinforced fabric) to protect your hands.
- ● Disinfectant: Rubbing alcohol (70% or higher) or a 10% bleach solution to sterilize tools between cuts and prevent disease spread.
- ○ Pruning sealant (optional): A product like Tanglefoot Pruning Seal to coat large cuts and reduce sap loss or pest entry.
- ● Rake or broom: To clear away pruned debris and fallen leaves.
- ● Trash bags or compost bin: For disposing of diseased or pest-infested branches (do not compost these!).
- ● Safety glasses: To shield your eyes from flying debris.
- ● Long sleeves/pants: Wear protective clothing to avoid thorns and scratches.
- ○ Notebook & pen (optional): To sketch a quick pruning roses diagram of your plant’s structure before and after cuts.
- ● Choose a dry, sunny day (avoid pruning when the roses are wet or frost-covered).
- ● Sharpen your tools before starting—dull blades tear stems and stress the plant.
- ● Review your rose variety’s specific pruning needs (e.g., hybrid teas vs. climbers) for tailored cuts.
Step-by-step guide to pruning roses for healthy growth
Transform your roses into lush, disease-resistant powerhouses with these precise pruning techniques.
Identify and Remove Dead or Diseased Wood
Start by examining each cane (stem) for signs of death or disease—look for blackened, shriveled, or hollow centers. Dead wood snaps cleanly when bent; healthy wood bends slightly before breaking. Use sharp, clean pruners to cut these stems back to the base or to a healthy outward-facing bud.
Diseased canes often show dark, fuzzy spots or oozing sap. These must be removed immediately to prevent spreading. I always sterilize my pruners between cuts by wiping them with rubbing alcohol—this keeps pathogens from jumping between branches. Focus on the center of the bush first, where air circulation is poorest and disease lurks.
Cut Back to the Right Buds for Proper Shape
Make your cuts just above an outward-facing bud, using a 45-degree angle to encourage water runoff. The bud should be about ¼ inch below the cut—this prevents water from pooling and rotting the stem. For standard roses, aim to reduce last year's growth by ⅓ to ½ of its length.
Shape the bush like a vase—wider at the bottom, narrower at the top. This allows sunlight to reach inner canes and air to circulate freely. I like to visualize an upside-down triangle when pruning, ensuring the strongest canes form the new framework. Never leave stubs; always cut cleanly above a bud.
Thin Out Crowded Canes for Better Airflow
Remove any crossing or rubbing canes immediately—they create wounds where disease enters. If multiple canes grow from the same spot, keep only the 2-3 strongest, cutting the others at the base. Overcrowding leads to weak blooms and fungal issues, so don't hesitate to be aggressive here.
Look for canes thicker than a pencil—these are your keepers. Thin, weak stems (thinner than a pencil) should be pruned back severely or removed entirely. You'll notice the bush opens up immediately, revealing a more open, airy structure. This step is where your rose truly transforms from tangled to tidy.
Prune for Flower Production and Health
For hybrid teas and floribundas, cut back to 3-5 leaf clusters on remaining canes to encourage strong blooms. On climbing roses, prune to shape but leave long, flexible canes for climbing support. Always make cuts just above an outward-facing bud to direct new growth away from the center.
Watch for "suckers"—shoots growing from the base or below the graft. These divert energy from your main plant. Remove them immediately by cutting at the base. After pruning, step back and admire your work—the bush should look balanced, with room for new growth to spread outward.
Clean Up and Apply Post-Pruning Care
Rake up and dispose of all pruned material (don't compost diseased wood). Sterilize your tools again with rubbing alcohol, then store them in a dry place. Water the base of the plant deeply to help it recover from the shock of pruning. Avoid fertilizing right after pruning—wait 4-6 weeks to let new growth establish.
Mulch around the base with 2-3 inches of organic mulch to retain moisture and protect roots. This is the moment your roses start their comeback—new growth will appear within 2-3 weeks if conditions are right. Keep an eye out for fresh, vibrant leaves emerging from the buds you left behind.
Tips & tricks for perfect rose pruning
Here's what nobody tells you about pruning roses that makes all the difference between a bush that survives and one that thrives.
Tool Prep is Non-Negotiable: Before you even touch a cane, sharpen your pruners with a fine file—dull blades crush stems instead of cutting cleanly. I test mine by cutting a piece of paper; if it tears instead of slices, it's time to sharpen. Sterilizing between cuts with rubbing alcohol isn't optional—it's how you prevent fungal spread from one diseased cane to another.
The 45-Degree Angle Secret: That angled cut in Step 2 isn't just for looks—it creates a natural water runoff path that prevents rot. When you make your cut, imagine directing rainwater away from the bud below. For extra insurance, dip your pruners in rubbing alcohol after each cut, especially when dealing with diseased wood. This simple step can mean the difference between a healthy bush and one struggling with black spot.
Visualize the Vase Shape: When shaping your rose bush, think of an upside-down triangle. The thickest canes should form the base, gradually tapering to thinner stems at the top. This isn't just aesthetic—it's how you ensure sunlight reaches all parts of the bush. I like to step back every few cuts to check my progress; you should be able to see clear paths between canes for airflow.
Post-Pruning Recovery Timeline: The 4-6 week wait before fertilizing after pruning is crucial—your rose needs time to recover and establish new growth. During this period, focus on deep watering (about 1 gallon per plant) every 5-7 days. You'll know you're on the right track when you see fresh, vibrant leaves emerging from the buds you left behind within those 2-3 weeks.
Pro Tips for Pruning Roses Diagram
- Here's what nobody tells you about pruning roses that makes all the difference between a bush that survives and one that thrives.
- Tool Prep is Non-Negotiable: Before you even touch a cane, sharpen your pruners with a fine file—dull blades crush stems instead of cutting cleanly.
- The 45-Degree Angle Secret: That angled cut in Step 2 isn't just for looks—it creates a natural water runoff path that prevents rot.
Frequently asked questions
Got questions about pruning roses? You’re not alone!
Here are answers to the most common concerns—from timing to tools—to help you prune like a pro.
When is the best time to prune roses?
The ideal time depends on your rose type: spring-bloomers (like hybrid teas) should be pruned in early spring (before buds swell), while fall-bloomers (like Knock Out roses) can wait until late winter. Avoid pruning in extreme cold or heat—aim for 50–60°F for clean cuts.
What if I don’t have pruning shears?
No fancy tools? No problem! Use clean, sharp scissors or even a hacksaw in a pinch—but avoid dull blades (they crush stems). For thick canes, borrow a pruning saw from a neighbor. Just sterilize your tools with rubbing alcohol to prevent disease spread.
How do I know if I’ve pruned too much?
Over-pruning shows up as fewer blooms or weak, leggy growth. Leave 3–5 healthy buds per stem (about 1/3 of the plant’s height). If your rose looks like a stick with no leaves, you’ve gone too far—next time, err on the conservative side!
Should I seal pruning cuts?
Nope! Sealing cuts with paint or pruning sealant is unnecessary and can trap moisture, causing rot. Let cuts heal naturally—they’ll dry and form a protective layer. Just sterilize tools between cuts to avoid spreading disease.
What if my rose isn’t blooming after pruning?
Check these fixes:
- Light: Roses need 6+ hours of sun daily.
- Water: Deep water 1–2 inches per week (drought stress kills blooms!).
- Fertilizer: Use a balanced rose food (like 10-10-10) in spring.
- Variety: Some roses (like climbing types) bloom on old wood—prune lightly!
Wrapping up and next steps
Mastering the art of pruning roses—especially with a clear pruning roses diagram—transforms your garden into a vibrant, healthy paradise. 🌹 By following the right techniques, you’ll encourage stronger blooms, better airflow, and fewer pests. Now that you’re armed with the knowledge, grab those shears and get pruning!
Your next step? Practice patience and consistency. Start with one rose bush at a time, and soon, you’ll be a pruning pro. Happy gardening!