
Propagation
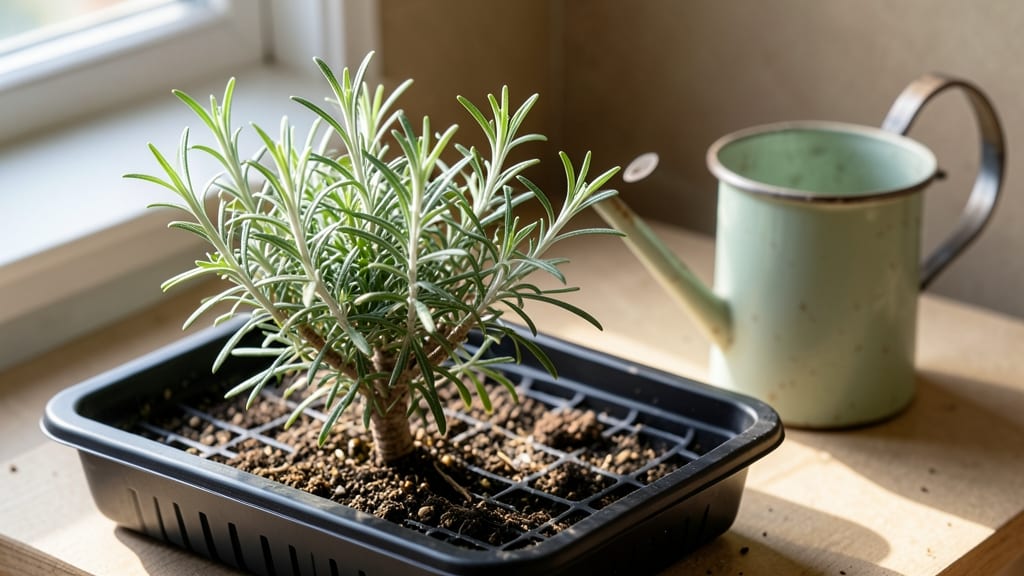
Starting rosemary from seed feels like unlocking a secret garden—especially when you use cold-stratification to speed up germination. 🌱 The key is mimicking winter’s natural chilling period, which tricks seeds into breaking dormancy faster than store-bought seedlings ever could.
Most gardeners skip this step, but it’s what turns weeks of waiting into a 3-4 week grow-out. You’ll need a few simple supplies: rosemary seeds (fresh is best), a sealed plastic bag with moist potting mix, and patience for the cold treatment.
The process is straightforward—just mix seeds into damp soil, seal the bag, and refrigerate for 4-6 weeks before planting. This cold shock jumpstarts growth, so you’re not stuck staring at empty pots for months. Once planted, keep the soil lightly moist and give seedlings bright, indirect light.
They’ll push through slowly at first, but within 6-8 weeks from planting, you’ll have sturdy young plants ready for transplanting. The aroma alone makes the wait worthwhile—nothing beats the scent of homegrown rosemary on your windowsill.
This method works for both indoor starts and outdoor beds, though rosemary thrives best in warm, dry climates. If you live in a cooler zone, grow it in containers and bring them inside during winter. Ready to try it?
📚 In This Guide
- What you need
- Instructions
- Tips and common mistakes
- Wrapping up and next steps
What you need
- ● Rosemary seeds: 1 packet (contains ~50-100 seeds; opt for organic or heirloom varieties like Rosmarinus officinalis for best results).
- ● Seed-starting mix: 1 bag (2-3 quarts) of lightweight, sterile potting soil (avoid garden soil—it’s too dense!). Look for a mix labeled "seed-starting" or "cactus/succulent blend."
- ● Containers: 2-3 small pots (3-4 inches deep) or
- ● 1 long seed tray with cells (or repurposed egg cartons with drainage holes).
- ● Drainage tray or saucer: 1 (to catch excess water and prevent root rot).
- ● Plastic wrap or humidity dome: 1 sheet (to create a mini greenhouse effect during stratification).
- ● Spray bottle: 1 (with water—avoid soaking seeds directly).
- ● Label markers & tags: 2-3 (to track planting dates and varieties).
- ● Refrigerator or cold frame: A standard fridge (set to 34–40°F) works perfectly for 2-4 weeks.
- ● Ziplock bag or airtight container: 1 (to hold moistened seeds during stratification).
- ● Paper towels or damp peat moss: 2-3 sheets (to keep seeds hydrated but not soggy).
- ● Grow lights or sunny windowsill: A full-spectrum LED grow light (12-16 hrs/day) speeds up seedling growth.
- ● Fertilizer: A balanced, water-soluble fertilizer (5-5-5 or 10-10-10) for seedlings (dilute to half-strength!).
- ○ Heat mat (optional): A seedling heat mat (70–75°F) can boost germination speed after stratification.
- ● Pruning shears: Small pair for trimming leggy seedlings later.
Step-by-step instructions for starting rosemary from seed
Here's how to break the dormancy barrier and get rosemary sprouting reliably—no more waiting months for stubborn seeds.
🌱 Step 1: Prepare Seeds for Cold Stratification
Rosemary seeds need a cold treatment to mimic winter conditions and trigger germination. Fill a small plastic bag with damp paper towels (just enough moisture to feel damp, not dripping) and place the seeds between the layers. Seal the bag and refrigerate for 4-6 weeks.
Check the seeds weekly—they shouldn't dry out, but they also shouldn't feel soggy. You'll know stratification is working when you see tiny cracks or swelling in the seed coats. This cold treatment is what makes the difference between seeds that never sprout and ones that pop up in weeks instead of months.
💧 Step 2: Plant Stratified Seeds in Warm, Light Soil
After cold treatment, fill small seed-starting trays with sterile seed-starting mix (never garden soil—it's too dense). Press the mix down lightly so it's firm but not compacted. Make tiny holes about ¼ inch deep—just enough to nestle the seeds without burying them too deeply.
Place 1-2 seeds per hole (they germinate slowly, so extra gives you backup). Cover lightly with a sprinkle of additional mix, then mist gently with water until the surface looks evenly damp. The key here is warmth—rosemary seeds germinate best at 70-75°F, so a seedling heat mat helps if your home runs cooler.
☀️ Step 3: Provide Consistent Moisture and Bright Light
Cover the trays with clear plastic wrap or a humidity dome to retain moisture while the seeds germinate. Place them in a spot with bright, indirect light—a south-facing window works, but supplement with a grow light if natural light is weak. You'll see the first sprouts in 2-4 weeks, though some may take up to 6 weeks.
Remove the cover once seedlings emerge to prevent damping-off. Keep the soil moist but never soggy—water from the bottom by placing trays in an inch of water for 10 minutes, then drain. You'll know moisture is right when the soil surface looks slightly damp but not glistening.
✂️ Step 4: Thin and Harden Off Seedlings
When seedlings reach 2 inches tall and have 2-3 true leaves, thin to the strongest plant per cell by snipping the weaker ones at the base with clean scissors. This prevents overcrowding and gives remaining plants room to grow. Rosemary seedlings grow slowly at first, but they'll start putting on growth once they've established roots.
Two weeks before your last frost date, start hardening off by placing seedlings outside in a sheltered spot for 1-2 hours the first day. Gradually increase their outdoor time over 10-14 days
Choose a sunny spot with at least 6 hours of direct sun daily and soil that drains quickly—rosemary hates soggy roots. Dig holes slightly larger than the root balls and space plants 18-24 inches apart. Fill gaps with additional soil, pressing gently to eliminate air pockets. Water deeply after transplanting to settle the soil, then reduce watering to once a week (or when the top inch feels dry). Rosemary is drought-tolerant once established, but young plants need consistent moisture. You'll know they're settling in when new growth appears within 3-4 weeks.🪴 Step 5: Transplant to Well-Draining Soil
Tips & tricks for faster rosemary germination
Cold stratification is the secret weapon for breaking rosemary's stubborn dormancy—here's how to maximize your success.
Cold Stratification Secrets: The 4-6 week refrigeration period is non-negotiable for rosemary seeds, but you can speed up the process slightly by using a seed stratification tray instead of a plastic bag. These trays allow better air circulation while maintaining moisture, which can shave off 1-2 weeks from the cold treatment. If you're in a hurry, check your seeds after 3 weeks—some may already show those telltale cracks indicating dormancy is breaking.
Soil Temperature Matters: Rosemary seeds need warmth to germinate after their cold treatment, and 70-75°F is the magic zone. If your home runs cooler, place your seed trays on a seedling heat mat set to 75°F—this mimics natural spring conditions and can cut germination time from 6 weeks to as little as 3 weeks. Just be careful not to let the soil get too hot, or you'll risk damping-off.
Lighting Hack for Slow Starters: If you're not seeing sprouts within the 4-week mark after planting, supplement your natural light with a grow light placed 2-3 inches above the seedlings. Rosemary is light-sensitive, and weak light is the #1 reason seeds fail to sprout. Keep the light on for 12-14 hours daily—this consistent light signal tells the seeds it's time to grow.
Transplanting Timing: The 3-4 week window after transplanting for new growth is your best indicator that your rosemary is thriving. If you don't see fresh growth within this time, check your soil drainage—rosemary roots need oxygen, and soggy soil will stunt growth. Amend heavy soil with perlite or coarse sand to improve drainage before planting.
Pro Tips for Starting Rosemary From Seed
- Cold stratification is the secret weapon for breaking rosemary's stubborn dormancy—here's how to maximize your success.
- Cold Stratification Secrets: The 4-6 week refrigeration period is non-negotiable for rosemary seeds, but you can speed up the process slightly by using a seed stratification tray instead of a plastic bag.
- Soil Temperature Matters: Rosemary seeds need warmth to germinate after their cold treatment, and 70-75°F is the magic zone.
Frequently asked questions
Got questions about growing rosemary from seed?
Here are answers to the most common ones—so you can skip the guesswork and get straight to thriving plants!
How long does cold stratification take for rosemary seeds?
Cold stratification typically takes 4–8 weeks for rosemary seeds. Place them in a sealed bag with moist peat moss or a damp paper towel, then refrigerate (but don’t freeze). Check weekly—once they sprout, move them to warm, sunny conditions. Patience pays off!
Why aren’t my rosemary seeds germinating?
Rosemary seeds are notoriously slow—sometimes taking 2–4 weeks (or longer!) to sprout. Common roadblocks include:
- Dry seeds: Keep soil consistently moist (not soggy) during stratification.
- Poor light: Seeds need warmth (70°F+) after stratification to germinate.
- Old seeds: Buy fresh seeds or test viability with a simple germination test.
Can I grow rosemary from seed indoors without cold stratification?
Yes, but success rates drop dramatically. Without stratification, germination can take 6–12 months (or fail entirely). For faster results, use the cold method—or buy pre-sprouted seeds (check seed packets). If you’re impatient, consider transplanting a nursery-started rosemary instead!
How do I care for rosemary seedlings after they sprout?
Once sprouted, keep seedlings in bright, indirect light (south-facing window or grow lights). Use a well-draining mix (like 50% potting soil + 50% perlite) and water lightly when the top inch of soil dries. Avoid overcrowding—thin to 3–4 inches apart when they’re 2–3 inches tall. Harden off seedlings before transplanting outdoors!
Is it better to buy rosemary plants or grow from seed?
For beginners, buying a nursery plant is easier—rosemary grows faster from cuttings or young starts. But growing from seed is rewarding (and cheaper!) if you:
- Love experimenting with heirloom varieties.
- Have time for the slow-but-satisfying process.
- Want to avoid pests/diseases common in store-bought plants.
Wrapping up and next steps
Growing rosemary from seed is a rewarding journey that blends patience with the joy of nurturing life from scratch! 🌱 By mastering cold-stratification, you’ve unlocked a faster, more reliable way to coax those tiny seeds into vibrant plants.
Whether you’re a seasoned gardener or a curious beginner, your green thumb is about to get a fantastic workout—and soon, you’ll be harvesting fragrant, culinary delights straight from your garden.
Ready to take the next step? Once your seedlings are thriving, transplant them into pots or your garden bed and watch them flourish. Happy growing—your kitchen (and your plants!) will thank you!