
Propagation
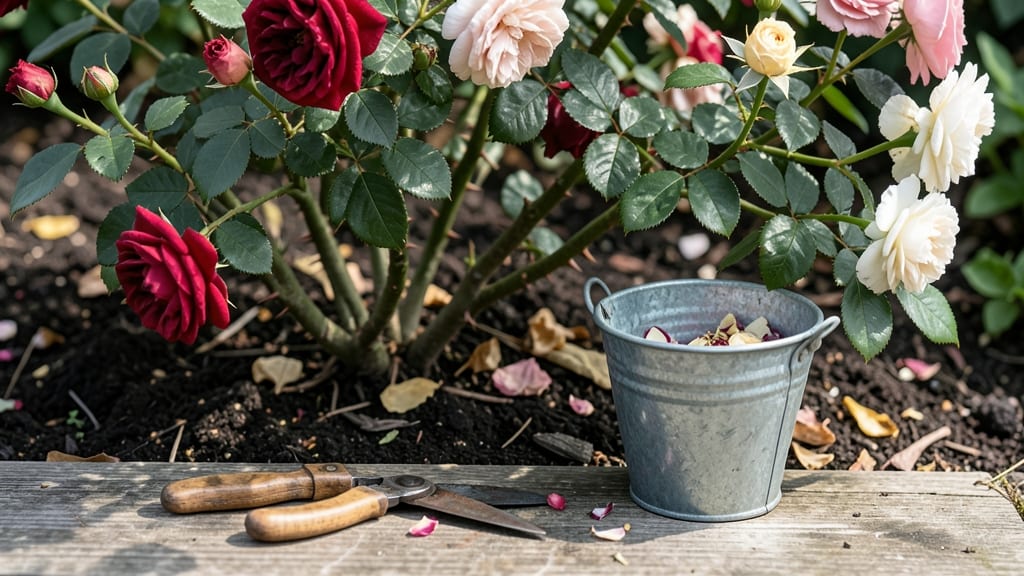
Taking rose stem cuttings in late spring or early summer gives you free, thriving roses next season—no nursery tag required. ✂️ I’ve rooted dozens of cuttings, and the key isn’t luck; it’s timing, sharp tools, and a little patience.
Most people overthink it, but the real secret is keeping it simple: healthy stems, clean cuts, and the right environment. You’ll need just five supplies: pruning shears, rooting hormone (optional but helpful), a jar of water or potting mix, clear plastic (for humidity), and a sunny windowsill or greenhouse.
The process takes 10 minutes to prep cuttings, and roots appear in 3-6 weeks—no fancy equipment needed. What you end up with is a bushy, disease-resistant rose that looks exactly like its parent, only better because you grew it yourself.
The first flush of blooms in its second year will make your neighbors ask how you did it—spoiler: it’s the cuttings. Avoid the two biggest mistakes: using old wood (last year’s growth won’t root) and letting cuttings dry out.
If yours aren’t rooting, check the stem’s moisture and light—too dry or too dark kills cuttings faster than anything.
📚 In This Guide
- What you need
- Instructions
- Tips and common mistakes
- Wrapping up and next steps
What you need
- ● Healthy rose stems: 4–6 inches long, with at least 3–5 leaf nodes (preferably from non-flowering or semi-hardwood growth). Pro tip: 💡 Choose stems from the current season’s growth for best results!
- ● Sharp pruning shears or clean knife: Sterilized with rubbing alcohol to prevent disease.
- ○ Rooting hormone (optional but recommended): A small jar or powder to boost root growth (e.g., Clonex or Rootone).
- ● Well-draining potting mix: A blend of perlite, vermiculite, and peat moss (or a pre-mixed propagation mix). Avoid garden soil—it can harbor pathogens!
- ● Small pots or propagation trays: 3–4 inches in diameter with drainage holes (or use a clear plastic container for humidity).
- ● Plastic bag or humidity dome: To create a mini greenhouse effect (e.g., a ziplock bag with holes or a clear plastic lid).
- ● Watering can or spray bottle: For gentle hydration—no drowning the cuttings!
- ● Clear plastic cup: For water propagation (if not using soil).
- ● Heat mat: Keeps cuttings warm (70–75°F is ideal for rooting).
- ● Grow lights: If your space lacks bright, indirect light.
- ● Labels & markers: To track rose varieties (trust us, you’ll forget!).
Step-by-step instructions for propagating roses from stem cuttings
Here's the straightforward method I've used to root dozens of roses—no fancy equipment or guesswork required.
🌱 Step 1: Select and Prepare Healthy Stem Cuttings
Choose stems from last year's growth that are about ½ to ¾ inch thick and pencil-length (around 6-8 inches long). Look for sections with at least 3-4 leaf nodes—these are the little bumps where leaves and buds grow. I always cut just below a node at a 45-degree angle using sharp pruners to maximize surface area for root formation.
Remove all but the top 2-3 leaves—more leaves create too much transpiration and stress the cutting. Trim the remaining leaves in half to reduce water loss. Here's the thing—if you see any signs of disease or pests on the stem, toss it. You want only the healthiest growth for successful rooting.
💧 Step 2: Apply Root Hormone and Plant in Moist Medium
Dip the cut end of each stem into rooting hormone powder and tap off the excess. This step doubles your success rate by encouraging faster root development. Fill a small pot with a mix of 50% perlite and 50% peat moss—this combination stays moist but drains well enough to prevent rot. Moisten the mix until it's damp like a wrung-out sponge.
Make a hole with your finger or a pencil and insert the cutting until about 2-3 nodes are buried. Gently press the surrounding mix to secure the stem without compacting it too tightly. I like to plant 4 cuttings per 4-inch pot—this mimics natural conditions and gives each cutting enough space to develop roots.
☀️ Step 3: Create Ideal Conditions for Root Development
Place the pot in a location with bright, indirect light—think 50-60% shade under a grow light or east-facing window. Too much direct sun will dry out the cuttings before roots form. Cover the pot with a clear plastic bag secured loosely with a rubber band to maintain high humidity. This creates a mini greenhouse effect that encourages rooting.
Water gently when the top inch of the medium feels dry to the touch—usually about every 3-4 days. Avoid soaking the mix, which can cause rot. After 4-6 weeks, check for root growth by gently tugging on the stem. If you feel resistance, roots have formed. Once new leaves appear, it's time to transplant into individual pots.
Tips & tricks for perfect rose stem cutting
Here's what nobody tells you—these small details make all the difference between thriving cuttings and wasted effort.
Selection is Everything: Focus on stems from last year's growth that have that perfect pencil thickness—½ to ¾ inch. I've learned the hard way that thicker stems (over ¾ inch) take forever to root, while thinner ones (under ½ inch) often fail. Look for vibrant green stems with no signs of disease—those little spots or discolorations can spread to your new plants. And here's the thing: morning is the best time to cut, when stems are fully hydrated and most likely to survive the process.
Angle Matters More Than You Think: That 45-degree angle cut isn't just for looks—it creates maximum surface area for root formation. Use sharp pruners to make clean cuts, and always cut just below a node. I've seen beginners cut above the node, which means no roots will form at that end. Pro tip: If you're using a knife instead of pruners, hold the stem at the perfect angle by resting it against your palm while cutting—it gives you more control than you'd expect.
Root Hormone Hack: While rooting hormone powder doubles your success rate, here's what nobody tells you—you can make your own! Mix 1 tablespoon of honey with 1 cup of water and use that as a natural rooting solution. The natural sugars feed the developing roots while encouraging growth. Just dip your cuttings for about 10 seconds before planting. For even better results, combine this with the commercial rooting hormone for a 1-2-3 punch of root development.
Lighting Secrets: That bright, indirect light is crucial—think of it as creating a greenhouse effect without the heat. If you don't have a grow light, position your cuttings near an east-facing window where they'll get gentle morning sun. Too much direct sunlight will dry out your cuttings before roots have a chance to form. I've had great success with fluorescent shop lights placed about 6 inches above the pots—just make sure they're on a timer for 12-14 hours of light per day. The key is consistency: your cuttings need reliable light just like they would in their natural habitat.
Pro Tips for Rose Stem Cutting
- Here's what nobody tells you—these small details make all the difference between thriving cuttings and wasted effort.
- Selection is Everything: Focus on stems from last year's growth that have that perfect pencil thickness—½ to ¾ inch.
- Angle Matters More Than You Think: That 45-degree angle cut isn't just for looks—it creates maximum surface area for root formation.
Frequently asked questions
Got questions about propagating roses from stem cuttings? You’re not alone! Here are some of the most common queries—and their straightforward answers—to help you root your cuttings with confidence.
When is the best time to take rose stem cuttings?
The ideal window is late spring to early summer, when roses are actively growing. Look for new, healthy growth—this means your cuttings will have the energy to root. Avoid taking cuttings after a heavy frost or during dormancy (fall/winter). Pro tip: Morning is the best time to cut, as stems are hydrated and firm.
How do I know if I’ve chosen the right stem for cutting?
Select stems that are pencil-thick, about 6–12 inches long, and have 3–5 leaf nodes (the bumps where leaves grow). Avoid woody, thick stems—they’re harder to root. Healthy cuttings should feel springy when bent slightly, not brittle. Pro tip: Choose stems from non-flowering shoots for better rooting success!
Should I use rooting hormone, or can I skip it?
While not always required, rooting hormone (like powder or gel) can double your success rate by encouraging faster, stronger roots. Dip the cut end of your stem into the hormone before planting. If you’re a beginner, it’s worth the small investment. Alternative: Try cinnamon powder (natural antifungal) or aloe vera gel for a DIY boost!
Why aren’t my rose cuttings rooting after a few weeks?
No roots yet? Don’t worry—patience is key! Common issues include low humidity (try a plastic bag or propagator), overwatering (let the soil stay moist, not soggy), or poor light (bright, indirect light is best). Check for rot (black/mushy stems) and adjust care. Troubleshoot: Trim any yellow leaves and repot if needed.
Can I propagate roses from cuttings indoors, or do they need outdoor conditions?
Indoor propagation works well with a grow light (12–16 hours/day) and a humid environment (like a terrarium or under a clear lid). Keep temps between 65–75°F and maintain consistent moisture. Outdoor cuttings thrive in partial shade, but indoors gives you control—perfect for winter projects!
Wrapping up and next steps
Mastering rose stem cutting is a rewarding way to multiply your favorite blooms without breaking the bank! With the right tools, patience, and a few simple steps, you’ll soon be watching new roots sprout and fresh roses thrive. 🌱
Ready to put your new skills to the test? Start with just one healthy stem—you’ll be amazed at how quickly your garden can grow! For extra confidence, experiment with different rose varieties or share your cuttings with fellow plant lovers. Happy propagating!