
Propagation
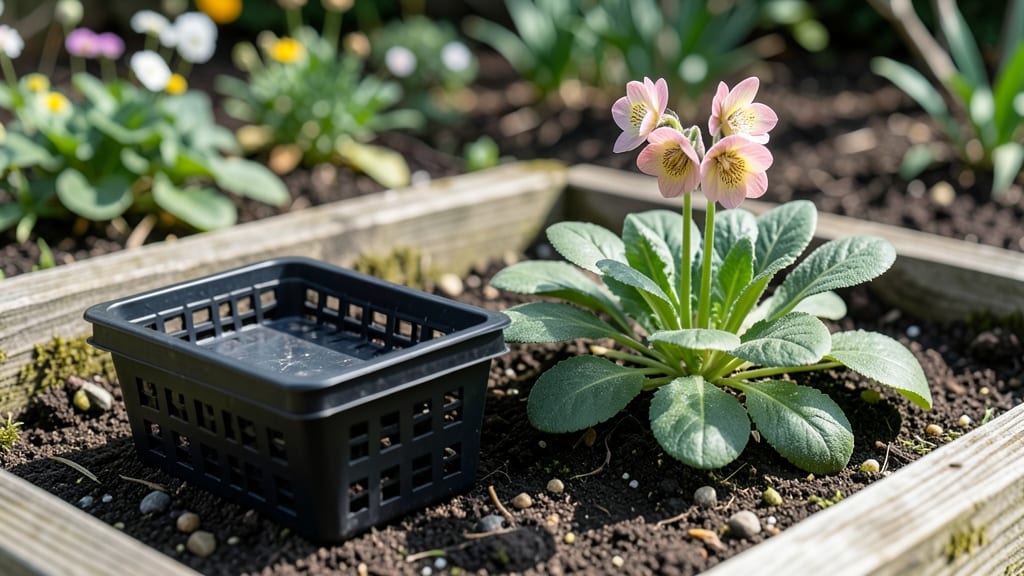
Planting primrose seeds in the right soil unlocks their secret—those tiny specks can burst into bright spring blooms in just six weeks, but only if you get the mix perfect. 🌱 I learned the hard way that primroses need a lightweight, airy blend to germinate, and skipping this step means... waiting months for results.
The secret isn't fancy: it's a blend of peat or coco coir, perlite, and a dash of compost, all fluffed to a consistency like crumbled cake. Most beginners drown these seeds, thinking they need moisture to wake up. Wrong.
A fine mist twice daily keeps the surface damp without turning it into a swamp. Within 10-14 days, you'll spot those first delicate green spikes—proof the soil's doing its job. The key is patience; primroses don't rush, but they reward it with clusters of cheerful faces by early summer.
By the time you're pinching back leggy seedlings, you'll have a bushy plant ready to transplant. The blooms arrive faster than most annuals, and the fragrance? Lightly sweet, like a spring breeze.
Just avoid the urge to crowd them; primroses need 2-3 inches of space to thrive without competing for light. This method works for both indoor starts and outdoor beds, though outdoor plants need partial shade to prevent bolting.
The lightweight soil trick is what separates thriving primroses from sad, slow starters—trust the process!
📚 In This Guide
- What you need
- Instructions
- Tips and common mistakes
- Wrapping up and next steps
What you need
- ● Primrose seeds: 1 packet (50-100 seeds, depending on variety—check the label for exact count). Opt for Primula vulgaris or Primula obconica for classic blooms!
- ● Seed-starting mix: 1 bag (5-10 lbs) of lightweight, well-draining potting soil (avoid garden soil—it’s too dense!). Look for a mix labeled "seed-starting" or "organic potting soil."
- ● Seed trays or pots: 1-2 shallow containers (3-4 inches deep) with drainage holes. Clear plastic trays work great for monitoring progress!
- ● Drainage material: Small pebbles, perlite, or a layer of sphagnum moss (¼ inch thick) to prevent root rot.
- ● Watering can or spray bottle: With a fine mist nozzle to avoid disturbing seeds.
- ○ Plastic wrap or humidity dome: To create a mini greenhouse effect (optional but highly recommended for germination).
- ● Grow lights or sunny windowsill: A south-facing window or LED grow lights (12-16 hours/day) for consistent warmth.
- ● Seedling heating mat ($10-$20) – Speeds up germination in cool climates.
- ● Fertilizer: A balanced, water-soluble fertilizer (5-5-5 NPK ratio) for when seedlings sprout.
- ● Labels & markers – To track seed varieties (especially if planting multiple types!).
- ● Tweezers – For delicate seed placement (great for tiny primrose seeds!).
- ● Compost or worm castings – Boosts soil nutrients once seedlings are established.
Step-by-step instructions for planting primrose seeds
Here's my foolproof method for coaxing those delicate primrose blooms in just six weeks.
🌱 Step 1: Prepare Lightweight Soil Mix
Primroses refuse heavy soil—they need airy, fast-draining mix to prevent rot. I blend equal parts of the sterile seed-starting mix and perlite (from your list) until it feels like crumbled styrofoam. The goal is a medium so light that when you squeeze it, it falls apart instantly.
Moisten this blend with room-temperature water until damp but not dripping. Too much water creates a suffocating environment for tiny seeds. Test by pressing your finger in—it should hold shape briefly but crumble when you tap it. This lightweight trick is what gets those seeds to germinate reliably.
🌱 Step 2: Sow Seeds on Soil Surface
Primrose seeds are so tiny they shouldn't be buried. Scatter them sparingly across the surface—just a few per 2-inch cell—using a toothpick (from your list) to space them ¼ inch apart. I find it easier to work in small batches: sprinkle a few seeds, then gently tap the tray to settle them.
Cover nothing—just press them lightly with your finger. The seeds need light to germinate, and even a thin layer of soil will smother them. Place the tray in a clear plastic bag (from your list) and seal it loosely. This creates a mini greenhouse effect that keeps humidity high while allowing light through.
💧 Step 3: Provide Warmth and Indirect Light
Germination happens fastest at 65-70°F, so I place the bagged tray on top of my refrigerator (the warmest spot in my kitchen). Keep it in bright, indirect light—a north-facing window works best. Direct sun will overheat the seeds, while too little light causes weak, leggy seedlings.
Check daily for condensation on the bag. If it's foggy inside, open it for 10 minutes to air out. You'll see the first sprouts in 7-14 days—they'll look like tiny green pins pushing through the soil. This is the moment you've been waiting for, so don't move the tray once they appear.
☀️ Step 4: Thin and Transition to Grow Lights
Once seedlings have two true leaves (not the initial seed leaves), thin to one plant per cell using clean scissors (from your list). Snip at soil level—don't pull, or you'll disturb the roots of the remaining plants. The thinned seedlings can be planted in the same tray if you have extra space.
Move the tray under a grow light (from your list) positioned 3 inches above the plants. Primroses need 12-14 hours of light daily to prevent stretching. You'll know the light is right when the seedlings grow sturdy and dark green rather than tall and pale. Keep the soil lightly moist—never soggy—by watering from the bottom.
⏰ Step 5: Harden Off and Plant Outdoors
Two weeks before your last frost date, start hardening off the seedlings. Place them outside in a shaded spot for 1 hour the first day, then gradually increase time by 1 hour daily. By day 7, they should tolerate 4-6 hours of outdoor exposure. Primroses are tougher than they look—they'll bounce back from minor wilting.
Plant outdoors in partial shade where the soil stays moist but well-drained. Space them 6-8 inches apart and water deeply at the base. You'll see the first blooms in 6-8 weeks—that's the payoff for all that patience. Mulch lightly with compost (from your list) to retain moisture and deter weeds.
Tips & tricks for perfect primrose seedlings
These small details make all the difference when nurturing delicate primrose seeds from start to bloom.
Soil Texture Matters: The lightweight mix of sterile seed-starting mix and perlite is non-negotiable—this isn't just about drainage, it's about oxygen. I've tried heavier mixes, and they always lead to damping-off. The soil should feel like crushed styrofoam, not damp sand. If it sticks together when squeezed, add more perlite. This texture mimics their natural woodland habitat where they grow in leaf litter, not compacted soil.
Light Sensitivity: Primrose seeds need light to germinate, so resist the urge to cover them with soil. Even a thin layer blocks their path to sunlight. I use a toothpick to space them just ¼ inch apart—this spacing prevents overcrowding later. The clear plastic bag creates the perfect humid environment while letting light through. If you notice condensation building up, open it for those 10 minutes to prevent mold. This balance is what turns those tiny seeds into sturdy seedlings.
Temperature Consistency: Maintaining that 65-70°F range is crucial—too cold slows germination, too hot stresses the seeds. My refrigerator top works perfectly because it's warm but not scorching. If your kitchen runs cooler, consider using a seedling heat mat set to low. The moment you see those first sprouts (those tiny green pins), resist the temptation to move the tray—even slight vibrations can disturb their delicate roots. This patience pays off when you see the first true leaves appear.
Thinning Technique: When thinning to one plant per cell, use clean scissors to snip at soil level rather than pulling. This prevents disturbing the roots of your remaining seedlings. I've learned the hard way that pulling creates gaps where weeds can take hold. The thinned seedlings can actually be replanted in the same tray if you have extra space, just be gentle with their tiny root systems. This step ensures each plant gets enough nutrients to grow strong.
Pro Tips for Planting Primrose Seeds
- These small details make all the difference when nurturing delicate primrose seeds from start to bloom.
- Soil Texture Matters: The lightweight mix of sterile seed-starting mix and perlite is non-negotiable—this isn't just about drainage, it's about oxygen.
- Light Sensitivity: Primrose seeds need light to germinate, so resist the urge to cover them with soil.
Frequently asked questions
Got questions about planting primrose seeds? You’re not alone—these delicate blooms can be tricky to start! Below, we’ve rounded up the most common queries to help you grow confidently.
When is the best time to plant primrose seeds?
Primroses thrive when sown indoors 8–10 weeks before your last frost date (typically late winter or early spring). For outdoor planting, wait until soil temps reach 50–60°F (10–15°C)—usually after the risk of frost has passed. Cold-sensitive varieties like Primula denticulata need extra warmth!
How long does it take for primrose seeds to germinate?
Germination can take 2–6 weeks, depending on moisture, light, and temperature. Keep soil consistently moist (not soggy!) and maintain temps around 60–65°F (15–18°C). A humidity dome or plastic wrap speeds things up. Patience is key—don’t disturb the soil!
Can I plant primrose seeds directly outside?
Direct sowing outdoors is risky for primroses, as they’re sensitive to temperature swings and poor drainage. Start seeds indoors first, then transplant seedlings outdoors after they’ve developed 2–3 sets of true leaves. Harden them off gradually to avoid shock. Pro tip: Use a lightweight, well-draining soil mix to mimic their natural habitat.
Why aren’t my primrose seeds sprouting?
Common culprits include:
- Too cold/dry soil: Primroses need warmth and moisture to germinate.
- Old or low-quality seeds: Check seed packets for expiration dates.
- Poor light: Keep seeds in bright, indirect light (no direct sun yet!).
- Fungal issues: If mold appears, repot seeds in fresh, sterile soil.
What’s the easiest primrose variety for beginners?
Start with Primula vulgaris (English primrose) or Primula acaulis (cushion primrose)—both are hardy and forgiving. Oxlip and cowslip varieties are also beginner-friendly. Avoid Primula obconica, which can cause skin irritation. Stick to proven types until you gain confidence!
Wrapping up and next steps
Planting primrose seeds is a rewarding journey that brings bursts of color to your garden in just six weeks—and with the right lightweight soil trick, success is almost guaranteed! 🌸 Whether you’re a seasoned gardener or a curious beginner, these delicate blooms prove that patience and care pay off in vibrant rewards.
Now that you’re armed with the how-to and answers to common questions, it’s time to roll up your sleeves and get growing!
Your next step? Mark your calendar for the ideal planting window (spring or early fall) and prepare your seed-starting trays. Before you know it, your garden will be alive with primrose magic—so go ahead, take that first step! 🌱