
Pruning
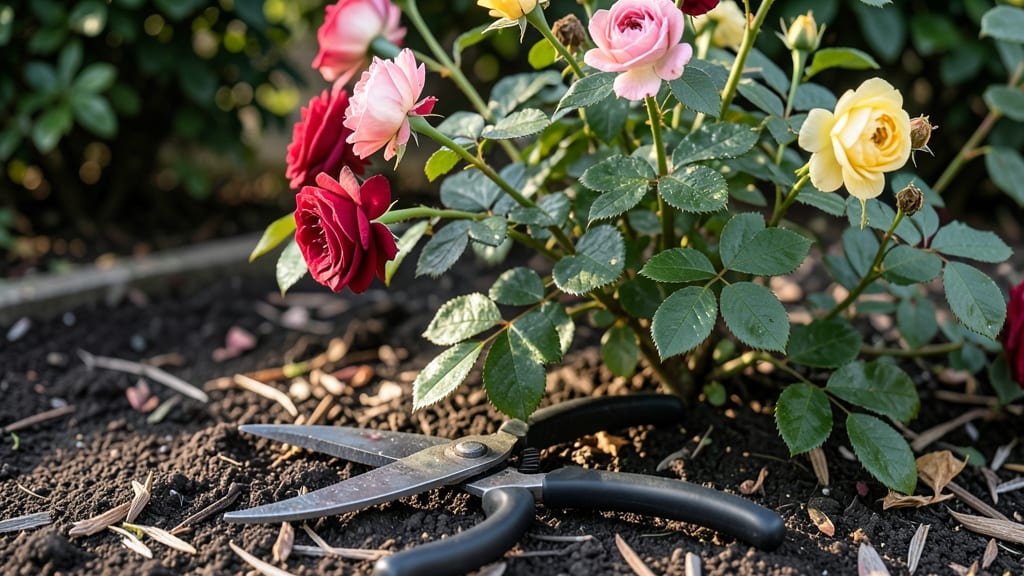
How to properly prune a rose bush isn’t just about cutting branches—it’s the secret to year-round blooms that make your garden the envy of the neighborhood. 🌹 I’ve spent years perfecting my technique, and the difference between a leggy, sparse bush and one covered in flowers comes down to three key cuts: removing dead wood, shaping for airflow, and encouraging new growth.
The right timing and method transform a struggling plant into a prolific bloomer, and I’ll show you exactly how.
The best time to prune depends on your climate and rose type, but late winter or early spring (just before new growth starts) is ideal for most varieties. You’ll need sharp pruners, rubbing alcohol for sterilization, and a clear plan—because every cut should have a purpose.
Start by removing any dead, diseased, or crossing branches, then open the center of the bush to let light and air circulate. This isn’t just about aesthetics; it’s about health and productivity.
After pruning, your rose bush will reward you with stronger stems, more blooms, and fewer pests—if you do it right. The first flush of flowers arrives in 4-6 weeks, and with proper care, you’ll see continuous blooms through the season.
The key is consistency: prune once a year for maintenance roses, or twice for hybrid teas (once in late winter and again after the first bloom).
Even experienced gardeners make mistakes—like cutting too late in the season or leaving stubs that invite disease. I’ll walk you through common pitfalls and how to avoid them, so you can confidently shape your roses like a pro.
Whether you’re working with heirloom climbers or modern shrub roses, this method delivers professional results without the guesswork.
📚 In This Guide
- What you need
- Instructions
- Tips and common mistakes
- Wrapping up and next steps
What you need
- ● Bypass Pruners: Sharp, high-quality pruners (like Felco or Fiskars) with 4- to 6-inch blades for clean cuts on smaller stems.
- ● Loppers: Heavy-duty loppers (18- to 24-inch handles) for thicker branches (½ to 1½ inches in diameter).
- ● Pruning Saw: A curved-bladed saw for thick, woody stems (2 inches or larger).
- ○ Disinfectant: Rubbing alcohol (70% isopropyl) or a pruning sealant (optional but recommended) to prevent disease spread.
- ● Gloves: Heavy-duty gardening gloves (waterproof, with reinforced palms) to protect against thorns and debris.
- ● Bucket or Bag: A 5-gallon bucket or heavy-duty trash bag for collecting pruned branches.
- ● Hand Pruners: Smaller pruners (2- to 3-inch blades) for delicate trimming of tiny stems or deadheading.
- ● Rake or Hoe: For clearing debris and weeds around the rose bush before pruning.
- ● Pruning Paint: A copper-based sealant to protect large cuts from pests and disease.
- ● Knee Pads: If your rose bush is tall or the ground is hard, these save your joints!
- ● Notebook & Pen: To jot down notes on cuts made (e.g., "removed dead wood on Day 1").
Step-by-step instructions for pruning a rose bush
Here's the method I've used for years to keep roses blooming abundantly—no guesswork, just precision.
✂️ Step 1: Gather Tools and Assess the Bush
Start with clean, sharp tools—bypass pruners for branches under ½ inch thick and a pruning saw for thicker stems. Disinfect blades with rubbing alcohol to prevent disease spread between cuts. Examine the bush for dead, diseased, or crossing branches first. These are your priority targets before any shaping work.
Look for canes that are completely brown and brittle (dead) or those with blackened spots and mold (diseased). Crossing branches that rub together create wounds where pests love to hide. Mark these with a small piece of tape if you're unsure—you'll remove them all first. This step ensures healthy airflow and light penetration for the remaining growth.
✂️ Step 2: Remove Dead, Diseased, and Problem Branches
Cut out dead wood at the base of the cane, making your cut at a 45-degree angle just outside the knuckle (the slight swelling where branches grow). For diseased canes, cut back to a healthy section of stem—you'll see green tissue beneath the bark. Never leave stubs; always cut cleanly to prevent rot.
When removing crossing branches, make your cut just above the branch that's growing upward. This encourages the stronger branch to continue growing while removing the weaker one. I always step back after each cut to visualize the shape—you're creating an open center that lets light reach all parts of the bush.
✂️ Step 3: Shape the Bush for Optimal Growth
Now focus on shaping. For climbing roses, aim to create a strong central leader with evenly spaced lateral branches. For shrub roses, maintain a rounded shape with the center open. Cut back last year's blooms to just above a 5-leaflet leaf—this encourages strong new growth from the base. Never cut into old wood; always make cuts just above outward-facing buds.
Step back frequently to check your progress. The goal is a bush that looks like an upside-down cone—wide at the base, narrower at the top. This shape prevents overcrowding and lets you reach the center for maintenance. I like to leave some branches slightly longer than others to create natural layers in the foliage.
✂️ Step 4: Thin Out Overcrowded Canes
Remove any canes that are growing inward or rubbing against others. Aim to space remaining canes about 6-12 inches apart, depending on your rose variety. Older canes (usually 3-4 years old) should be cut back to the ground to make room for younger, more vigorous growth. This might seem drastic, but it's what keeps your rose bush producing flowers instead of just leaves.
Look for canes that are thinner than a pencil—these are usually too old and won't produce many blooms. Cut them at the base. The younger, thicker canes (about the diameter of your thumb) are your future bloomers. This selective thinning is what transforms a bushy mess into a flowering powerhouse.
⏰ Step 5: Clean Up and Apply Post-Pruning Care
After all cuts are made, collect all pruned material and dispose of it in the trash—not your compost pile. Diseased material can spread spores to other plants. Rake up any fallen leaves and debris around the base of the bush. Now's the time to apply a balanced fertilizer (10-10-10) and a mulch layer (2-3 inches) to protect roots and retain moisture.
Water deeply after pruning to help the plant recover. You'll see new growth emerging from the base within 2-3 weeks if conditions are right. Keep an eye out for any suckers growing from the base—these should be removed immediately to direct the plant's energy toward the main canes you've carefully shaped.
Tips & tricks for perfect rose pruning
Precision cuts are what transform a struggling rose bush into a blooming masterpiece—here's how to elevate your technique beyond the basics.
Tool Preparation: I can't stress enough how critical sharp tools are—dull blades tear instead of cleanly cutting, creating jagged wounds that invite disease. Before you begin, sharpen your bypass pruners and pruning saw with a dedicated sharpening stone. Test your tools by making a clean cut through a piece of newspaper; if it tears, keep sharpening. This simple step prevents half your problems before they start.
Visual Cues for Healthy Growth: When shaping in Step 3, look for outward-facing buds when making cuts—they'll grow away from the center, creating that perfect open shape. I've learned to identify these by their position: they point outward like little arrows showing where new growth will emerge. This simple visual trick ensures your bush develops properly rather than growing inward where light can't reach.
Seasonal Timing Strategy: Late winter or early spring is ideal for most roses, but timing varies by climate. In warmer zones, you can prune lightly after blooming to encourage another flush. The key is to prune when your area's last frost date has passed—typically 2-3 weeks before your average last frost. This gives new growth time to harden off before potential cold snaps. I always check my local frost date calendar before reaching for the pruners.
Post-Pruning Observation: After completing all cuts in Step 5, spend 5 minutes examining your bush from all angles. Look for any remaining crossing branches or canes growing at odd angles. I've caught missed problem areas this way that would have caused issues later. This final inspection is your quality control moment—don't skip it, even if you're tired after all that cutting.
Pro Tips for Properly Prune A Rose Bush
- Precision cuts are what transform a struggling rose bush into a blooming masterpiece—here's how to elevate your technique beyond the basics.
- Tool Preparation: I can't stress enough how critical sharp tools are—dull blades tear instead of cleanly cutting, creating jagged wounds that invite disease.
- Visual Cues for Healthy Growth: When shaping in Step 3, look for outward-facing buds when making cuts—they'll grow away from the center, creating that perfect open shape.
Frequently asked questions
Got questions about pruning your rose bush? You’re not alone! Here are answers to the most common queries to help you prune like a pro and keep those blooms coming.
When is the absolute best time to prune my rose bush?
The ideal window is late winter or early spring (just before new growth starts), but you can also do light pruning after blooms fade to encourage more flowers. Avoid pruning in fall—it can stimulate tender new growth that won’t survive winter. Pro tip: If you live in a mild climate, a second light pruning in summer can boost late-season blooms!
Do I need to sterilize my pruners between cuts?
Yes!
Sterilizing your pruners with rubbing alcohol or a 10% bleach solution between cuts prevents spreading fungal diseases like black spot. Think of it like washing your hands before surgery—your roses will thank you! Bonus: Sharpen blades first for cleaner cuts that heal faster.
What if I accidentally cut into an old wood stem? Can I save my rose?
Don’t panic! If you’ve cut into old, woody stems (gray/brown, several years old), it’s not the end of the world. Just avoid over-pruning—focus on removing dead/diseased wood first. Healthy roses are resilient, but never cut into live canes (green/yellow stems) unless they’re damaged. Fix it: Prune at a 45° angle above a healthy bud.
Can I prune roses too much? What are the signs?
Over-pruning shows up as fewer blooms, stunted growth, or bare stems. If your rose looks like a twiggy skeleton or stops flowering, you’ve likely gone too far. Rule of thumb: Never remove more than 1/3 of the plant’s total growth in one session. Recovery tip: Fertilize lightly after pruning to encourage regrowth.
Should I prune hybrid teas and floribundas the same way?
Not exactly! Hybrid teas (single-stemmed blooms) need harder pruning (cutting back to 3–5 buds) for dramatic blooms, while floribundas (cluster blooms) thrive with softer cuts (leave 4–6 buds). Key difference: Floribundas bloom on old wood too, so prune after blooming to avoid sacrificing flowers. Quick guide:
Rose Type
Prune When
Cut Back To
Hybrid Tea
Late winter/early spring
3–5 buds from base
Floribunda
Late winter and post-bloom
4–6 buds (softer cuts)
Wrapping up and next steps
Pruning your rose bush might seem daunting at first, but with the right tools, timing, and technique, you’ll unlock vibrant blooms and healthier growth all season long! 🌹 Remember to cut at 45-degree angles, remove dead or diseased branches, and shape for airflow—your roses will thank you with stunning results.
Now that you’re armed with confidence, why not take the next step? Experiment with different pruning styles or even propagate your cuttings to grow new plants. Happy gardening—your rose bush is ready for its close-up! 🌿