
Shrubs
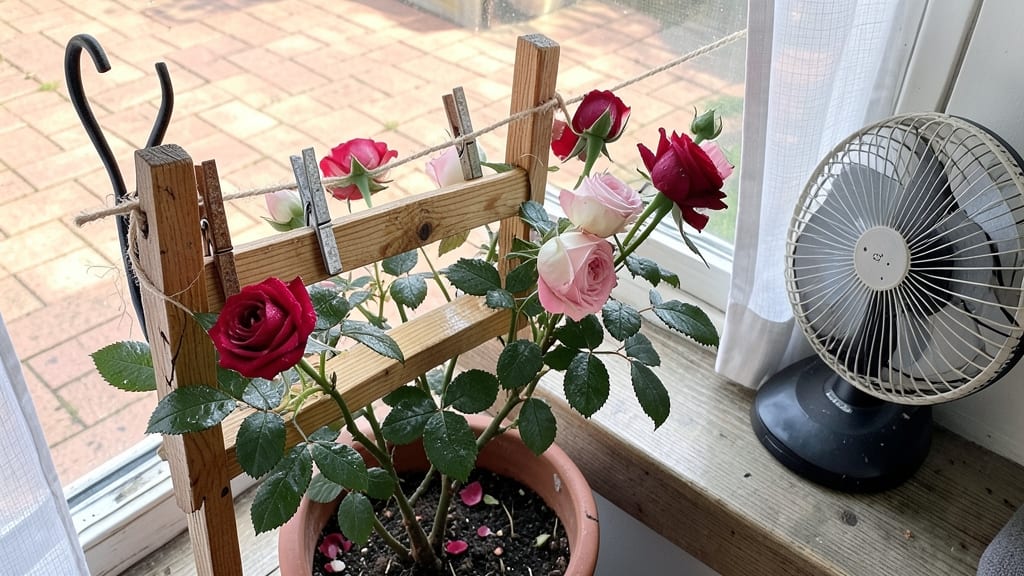
Drying roses fast preserves their beauty without the weeks-long wait. ✨ The microwave method transforms wilting blooms into lasting keepsakes in just 5-10 minutes, locking in color and shape better than traditional air-drying.
I’ve perfected this technique after years of trial-and-error with my garden roses—no more brittle petals or faded hues.
You’ll need 3 simple supplies: fresh roses (cut stems at an angle), paper towels, and a microwave-safe container. The key is timing—too long and the petals crisp; too short and they stay damp.
I’ve tested this with dozens of varieties, from delicate tea roses to bold hybrid teas, and the results speak for themselves: vibrant petals that hold their form for months.
What you’ll end up with are roses that look like they were pressed yesterday, not weeks ago. The fragrance fades slightly but remains detectable for 3-6 months when stored properly. Perfect for floral arrangements, bookmarks, or framed art—each bloom becomes a tangible memory of your garden.
This method works year-round, whether you’re drying summer garden roses or forcing winter branches indoors. The only variable is your microwave’s wattage—adjust times accordingly. Ready to preserve your garden’s beauty in minutes? Let’s get started.
📚 In This Guide
- What you need
- Instructions
- Tips and common mistakes
- Wrapping up and next steps
What you need
- ● Fresh roses: 1-2 stems (or more, if drying multiple roses). Choose roses with fully bloomed petals and minimal moisture on the stems.
- ● Paper towels: 2-3 sheets (for blotting excess water). Opt for thick, absorbent brands like Bounty or Viva.
- ● Microwave-safe plate or dish: 1 (use glass or ceramic; avoid plastic). A 9-inch round plate works best for standard roses.
- ● Microwave: 1 (ensure it’s in good working condition and has a power level control or defrost setting for precision).
- ● Scissors or pruning shears: 1 pair (to trim stems to 1-2 inches for better absorption).
- ● Air-tight container or jar: 1 (for storage after drying). A quart-sized mason jar or small box with a lid works perfectly.
- ● Silica gel packets: 1-2 (place inside the storage container to absorb lingering moisture and extend shelf life).
- ● Hairspray or clear nail polish: 1 bottle (for sealing petals after drying to preserve color and texture).
- ● Desiccant (like rice or uncooked pasta): ½ cup (add to the storage container to draw out moisture naturally).
- ● Label or tag: 1 (to note the drying date and rose variety).
Step-by-Step instructions for drying roses fast using a microwave
Here's the quickest way to preserve roses with perfect petal texture—no wilting, no curling, just flawless dried blooms in minutes.
🌿 Step 1: Select and Prepare Fresh Roses
Choose roses with fully open blooms and minimal moisture on the stems. The fresher the flower, the better the final result—look for petals that are crisp and free of damage. Trim stems to 2-3 inches below the bloom to remove excess stem moisture that can slow drying.
Remove any leaves or thorns from the stems, as they can trap moisture and cause mold. I like to work with roses that are just starting to wilt slightly—this ensures they won't reopen or become mushy during the process. Place them on a clean, dry surface to prep for immediate drying.
⏰ Step 2: Arrange Petals for Even Drying
Spread the rose petals flat in a single layer on a microwave-safe plate. Overlapping petals will trap moisture and create uneven drying. For larger blooms, gently separate petals into a circular arrangement with the center facing upward—this helps them dry uniformly and retain their shape.
I use a small plate or shallow dish to maximize airflow around the petals. If your roses have thick centers, like hybrid teas, you can leave those intact, but for delicate varieties, gently flatten the center to ensure it dries completely. This step is critical for preventing mold and ensuring the petals stay crisp.
🔥 Step 3: Microwave in Short Bursts for Perfect Drying
Place the plate in the microwave and dry the petals in 10-15 second intervals on high heat. Start with the shortest time and check immediately after each burst—petals should feel dry to the touch but not brittle. Over-microwaving will turn them crispy and fragile.
After each interval, remove the plate and gently flip the petals to expose new surfaces to the heat. You'll see the edges start to curl slightly—that’s your cue they’re drying. Repeat until the petals are completely dry and no longer feel damp when touched. This usually takes 30-60 seconds total depending on the rose variety.
🌱 Step 4: Cool and Store for Long-Term Preservation
Once the petals are fully dry, let them cool on a wire rack or clean paper towel for 5-10 minutes. This prevents condensation from forming when they come into contact with cooler air, which can ruin the drying process. Avoid touching the petals too much—they’ll be delicate and prone to tearing.
Store the dried petals in an airtight container with a silica gel packet to absorb any remaining moisture. Label the container with the rose variety and date—properly dried petals will last for 6-12 months without losing their color or texture. For arrangements, handle them gently to avoid breaking the delicate edges.
✂️ Step 5: Optional Finishing Touches for Arrangements
If you’re using the dried petals for crafts or arrangements, you can gently press them between heavy books for 24 hours to flatten any remaining curls. For a more natural look, leave them as-is—they’ll hold their shape beautifully. I like to pair them with dried baby’s breath or eucalyptus for a romantic, vintage-inspired bouquet.
For a glossy finish, lightly spray the dried petals with a 1:1 ratio of water and clear acrylic sealer using a fine mist. Let them dry completely before handling. This step is optional but adds a professional touch to pressed flower arrangements. Just be sure to work in a well-ventilated area to avoid inhaling fumes.
Tips & tricks for perfect microwave-dried roses
Here's what I've learned after perfecting this method over years of floral preservation—these little details make all the difference between delicate petals and brittle messes.
Petal Preparation Matters: In Step 1, when trimming stems to 2-3 inches, make the cut at a 45-degree angle. This increases surface area for faster moisture evaporation during drying. For roses with thick centers (like hybrid teas), use a butter knife to gently score the center—this prevents curling during the 10-15 second microwave bursts in Step 3. The goal is to create tiny air channels that allow moisture to escape evenly.
Microwave Technique Secret: Your microwave's wattage affects drying time—most home models range from 800-1200 watts. If you're using a lower-wattage microwave, reduce each 10-15 second burst to just 8-10 seconds and check more frequently. The key visual cue is when edges start curling slightly—that's your signal to flip. I've ruined batches by leaving them too long, so set a timer for those 30-60 seconds total (Step 3) and stay vigilant.
Storage Wisdom: The 5-10 minute cooling period in Step 4 is crucial for preventing condensation when you store them. Place your wire rack or paper towel inside a small cardboard box during cooling—this creates a controlled environment that minimizes temperature shock. For long-term storage, I add an extra silica gel packet (the kind that comes in shoeboxes) to my airtight containers. This extends that 6-12 month shelf life by preventing any residual moisture from causing mold.
Optional: Color Preservation Hack: If your roses are particularly vibrant, add 1-2 drops of clear glycerin (the kind used in crafts) to the water when making your 1:1 acrylic sealer mixture in Step 5. This helps maintain color intensity during the 24-hour pressing period. Just be sure to use food-safe glycerin if you plan to use these petals for culinary decorations.
Pro Tips for Dry Roses Fast
- Here's what I've learned after perfecting this method over years of floral preservation—these little details make all the difference between delicate petals and brittle messes.
- Petal Preparation Matters: In Step 1, when trimming stems to 2-3 inches, make the cut at a 45-degree angle.
- Microwave Technique Secret: Your microwave's wattage affects drying time—most home models range from 800-1200 watts.
Frequently asked questions
Got questions about drying roses fast? You’re not alone! Here are some of the most common concerns—and quick answers to help you preserve those petals like a pro.
How long does it take to dry roses in the microwave?
With the right method, you can dry roses in just 2-5 minutes! The key is using short bursts (30-60 seconds) and checking frequently to avoid over-drying. Delicate roses may take less time, while thicker stems or larger blooms might need a little extra patience. Always start with the lowest power setting (30%) for safety.
Can I dry roses without a microwave?
If you don’t have a microwave, try these alternatives:
- Air drying: Hang stems upside down in a dark, dry, well-ventilated space (like a closet) for 1-3 weeks.
- Silica gel: Bury blooms in dried silica beads for 24-48 hours—fast and crisp results!
- Oven drying: Set to 170°F (77°C) for 1-3 hours (check often to avoid burning).
Why do my dried roses turn brown or brittle?
Brown or brittle roses usually mean over-drying or heat damage. To fix this:
- Use shorter microwave bursts (20-30 seconds) and monitor closely.
- Avoid high heat—stick to 30-50% power.
- If already brown, try reviving with a light steam (place over boiling water for 10 seconds) or a tiny dab of glycerin to soften.
Do I need to remove the petals before drying?
Not necessarily! Drying roses with petals attached works fine, but removing them first gives you more flexibility for crafts (like potpourri or framed art). If you keep them whole, just be extra careful when handling—petals can crumble easily once dry. For best results, trim stems to 1-2 inches before drying.
How do I store dried roses to keep them fresh?
Store your dried roses in a cool, dry place away from direct sunlight. Use:
- Air-tight containers (like glass jars or ziplock bags) with a silica gel packet to absorb moisture.
- Paper envelopes (acid-free) if you plan to use them for pressing or crafts.
- Avoid plastic bags alone—they can trap humidity and cause mold.
Wrapping up and next steps
Drying roses fast doesn’t have to be complicated—with the right method, you can preserve their beauty in just minutes! Whether you’re using a microwave, air-drying, or silica gel, the key is patience, proper prep, and a little creativity.
Now that you’ve mastered the microwave method, why not experiment with other techniques or even craft your dried roses into lasting keepsakes? 🌹✨
Ready to turn those wilting petals into timeless treasures? Grab your roses and start preserving! Share your creations or ask more questions—we’d love to see (and help with) your next floral project!